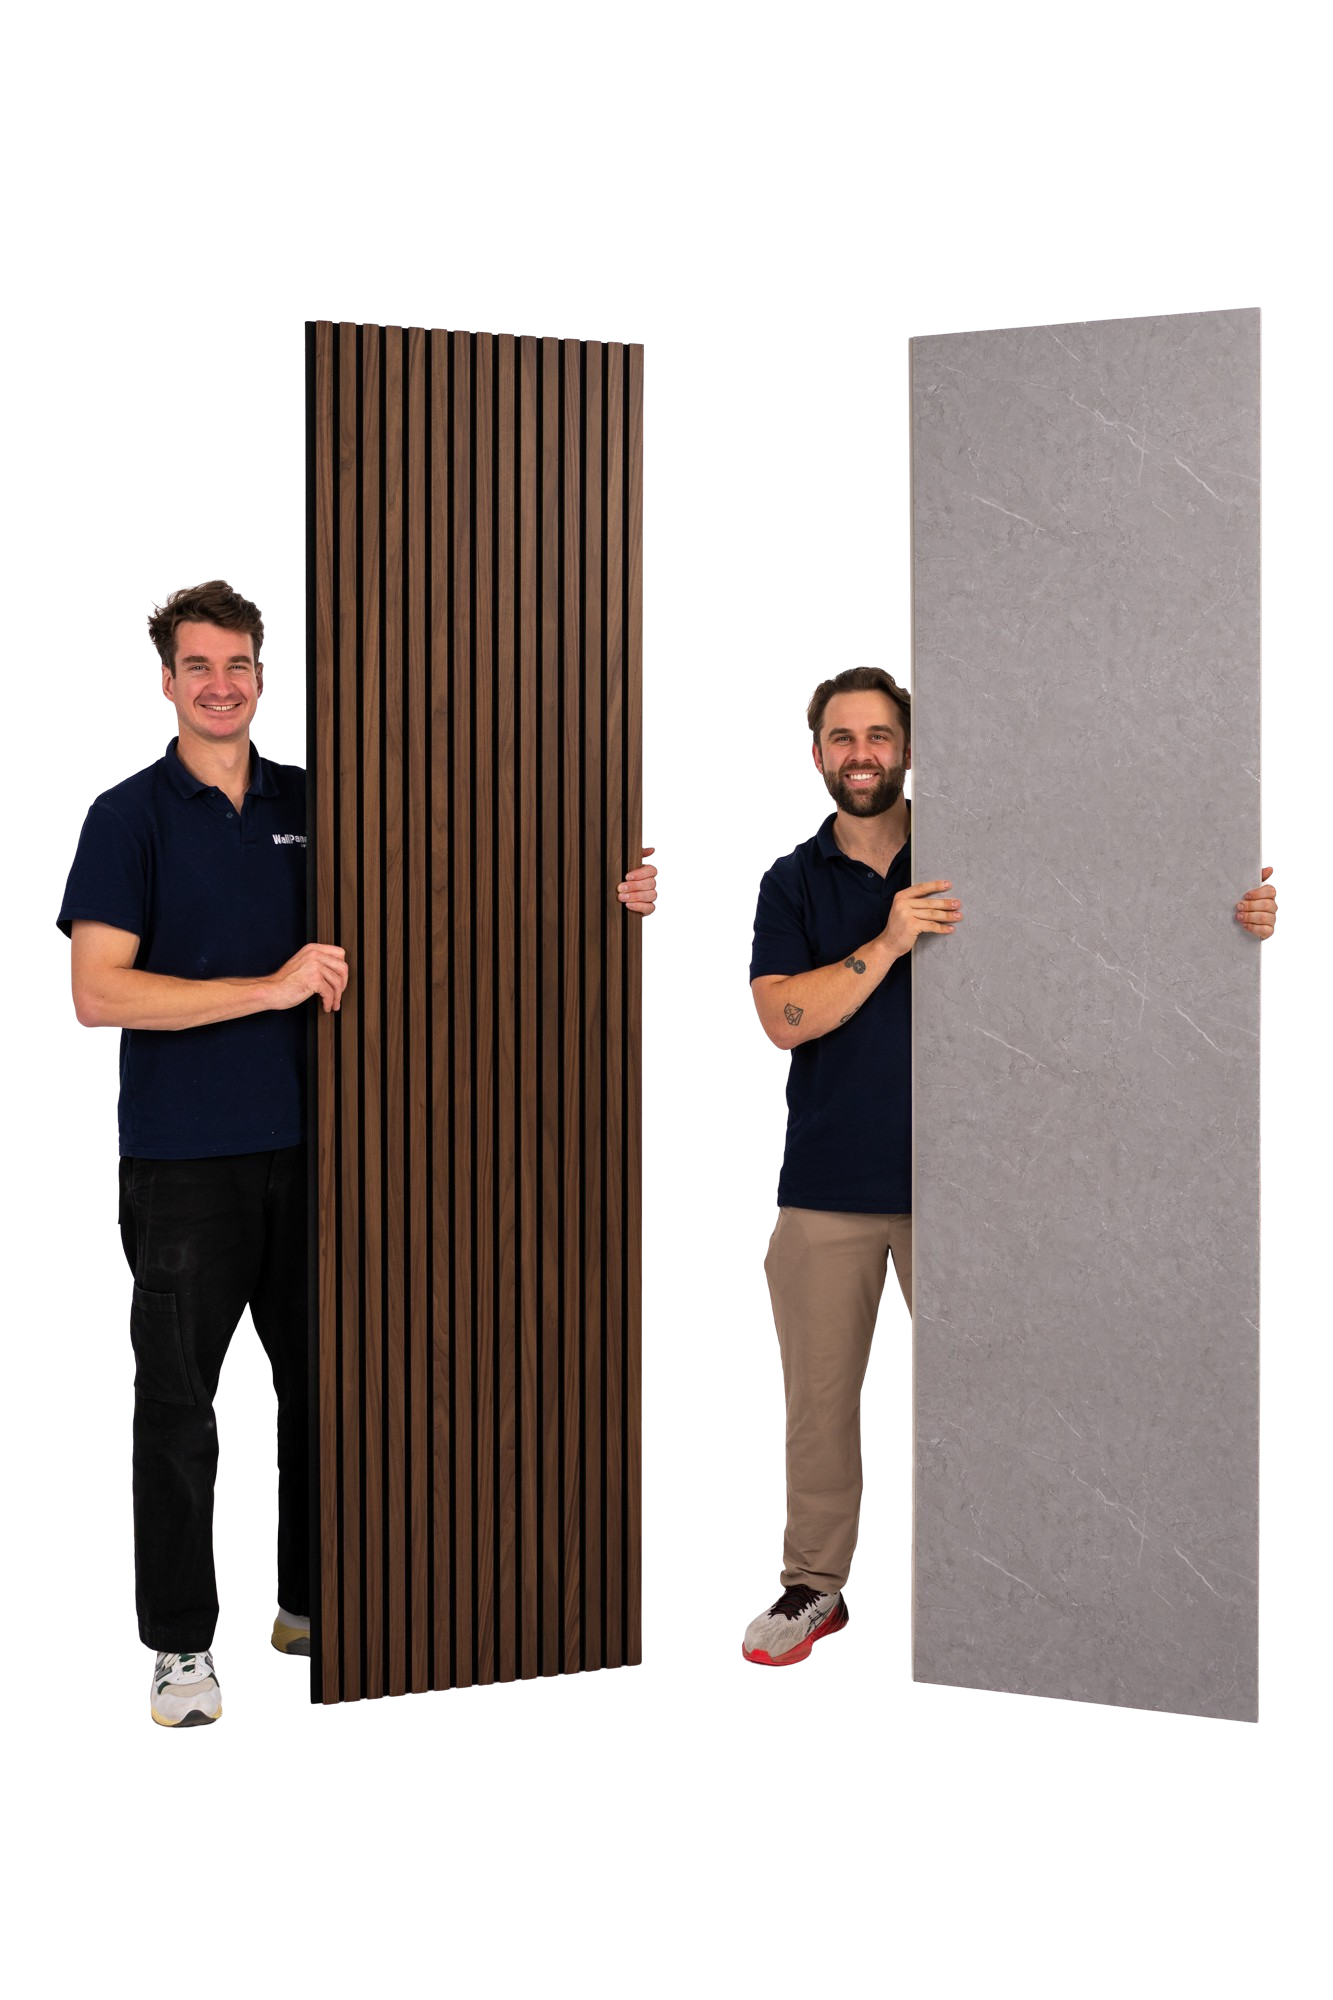
How to Install Wet Wall Panels
Are you looking to install EasyWall Wall Tiles? Follow this link. If you're looking to install our standard PVC wet wall panels, or our Pro/Scandipanel range you're in the right place!
Please watch the video above to get the gist of what it takes to install your wet wall panels. We've included some extra information below too, so please read this page thoroughly as well.
Here is a live installation video as well.
⚠️ Note for WPW® Pro and Scandipanel wall panels: Please use a bead of sealant inside the channel of each trim before inserting the panels. This is not necessary for our standard PVC wall panels.
Recommended Tools:
- Silicone gun (for adhesive and sealant)
- Pencil
- Measuring tape
- Spirit level
- Safety glasses and safety gloves (do not use gloves with power saws unless manufacturer recommends it)
- Cutting tool (read about different cutting methods here - use a fine-toothed blade on whatever saw you're using)
Step #1: Clean Area
Clean the entire area to ensure that it's grease and dust free. It's best to use a degreaser, then dry the area and get any dust off with a microfiber cloth. If you do not clean the area well... the adhesive won't stick properly and that can lead to big problems down the road.
Step #2: Cut and Attach Internal Corner
It's always best to start with an internal corner trim first. Measure and cut for length if necessary. Fix the internal corner to the wall with adhesive, or twelve millimeter screws at the edge of the trim.
Step #3: Measure and Cut Panel for Height
Measure the height of your wall and compare to the height of the bathroom wall panel. If the panel is too long, make the appropriate cut to your first panel. You will need to do this for all remaining panels as well.
Step #4: Cut off Tongue or Groove Edge
You need to cut off the tongue or groove edge of the panel to fit into the trim. You cannot put the tongue or groove edge directly into the trim. This can be done with a Stanley knife or your preferred cutting tool.
Internal trims have an 18mm void, so make sure to account for this in your measurements.
Note: Cutting Around Fittings
When cutting around bath or shower fittings, leave a two millimeter gap. This will be filled in with sealant after installation.
When cutting around showers or bath trays, leave a four millimeter gap. You can use a shim to achieve this.
Always leave 24 hours for the panels to cure before adding shower accessories back on.
Step #5: Dry Fit Panels
Always dry fit the panel to the wall to ensure cuts were done correctly and looks correct to you. Check that the panels are level before applying adhesive.
Step #6: Apply Adhesive
Apply two tubes of adhesive per wet wall panel in a snaking pattern. This amounts to around 600ml of adhesive per panel. If you'd cut off a part of the panel, use a proportionate amount.
Once adhesive is on, apply the panel to the wall. Put pressure across the panel to smooth out any air pockets.
Step #7: Attach Panel via Tongue and Groove
Add the next panel via tongue and groove. It should slide in easily. Continue the process of dry fitting and then applying adhesive for each panel.
Step #8: Add End Cap (if Using)
If you're using an end cap, trim it to the proper length. You can attach it to the panel before applying, just be sure to add adhesive to the back of the end cap.
Step #9: Fill in Gaps with Sealant
This is a very important step! When you're done installing the panels you need to fill in all of the gaps with sealant. This means above the panels, below the panels and anywhere you have made cuts.
The tongue and groove panel connections are already watertight so you do not need to worry about sealant for them.
Step #10: Wait 24 Hours to Apply Accessories
You need to wait 24 hours for the panels to cure before applying the fixtures, accessories or drilling holes in the wall panels. It shouldn't take more than an hour or two on a return trip to finish up the panels.
Step #11: Done!
Once the sealant dries and accessories are applied you can now enjoy your wet wall panels.
Have a question or need help choosing the right panels? Our expert team is here to guide you through every step, from picking samples to placing your order and tracking delivery. Whether you're planning a big renovation or a quick weekend update, we’re ready to assist with honest advice and responsive support.
Give us a call at 1800 841 108 or reach out online — we want to make your wall panel renovation dreams a reality!