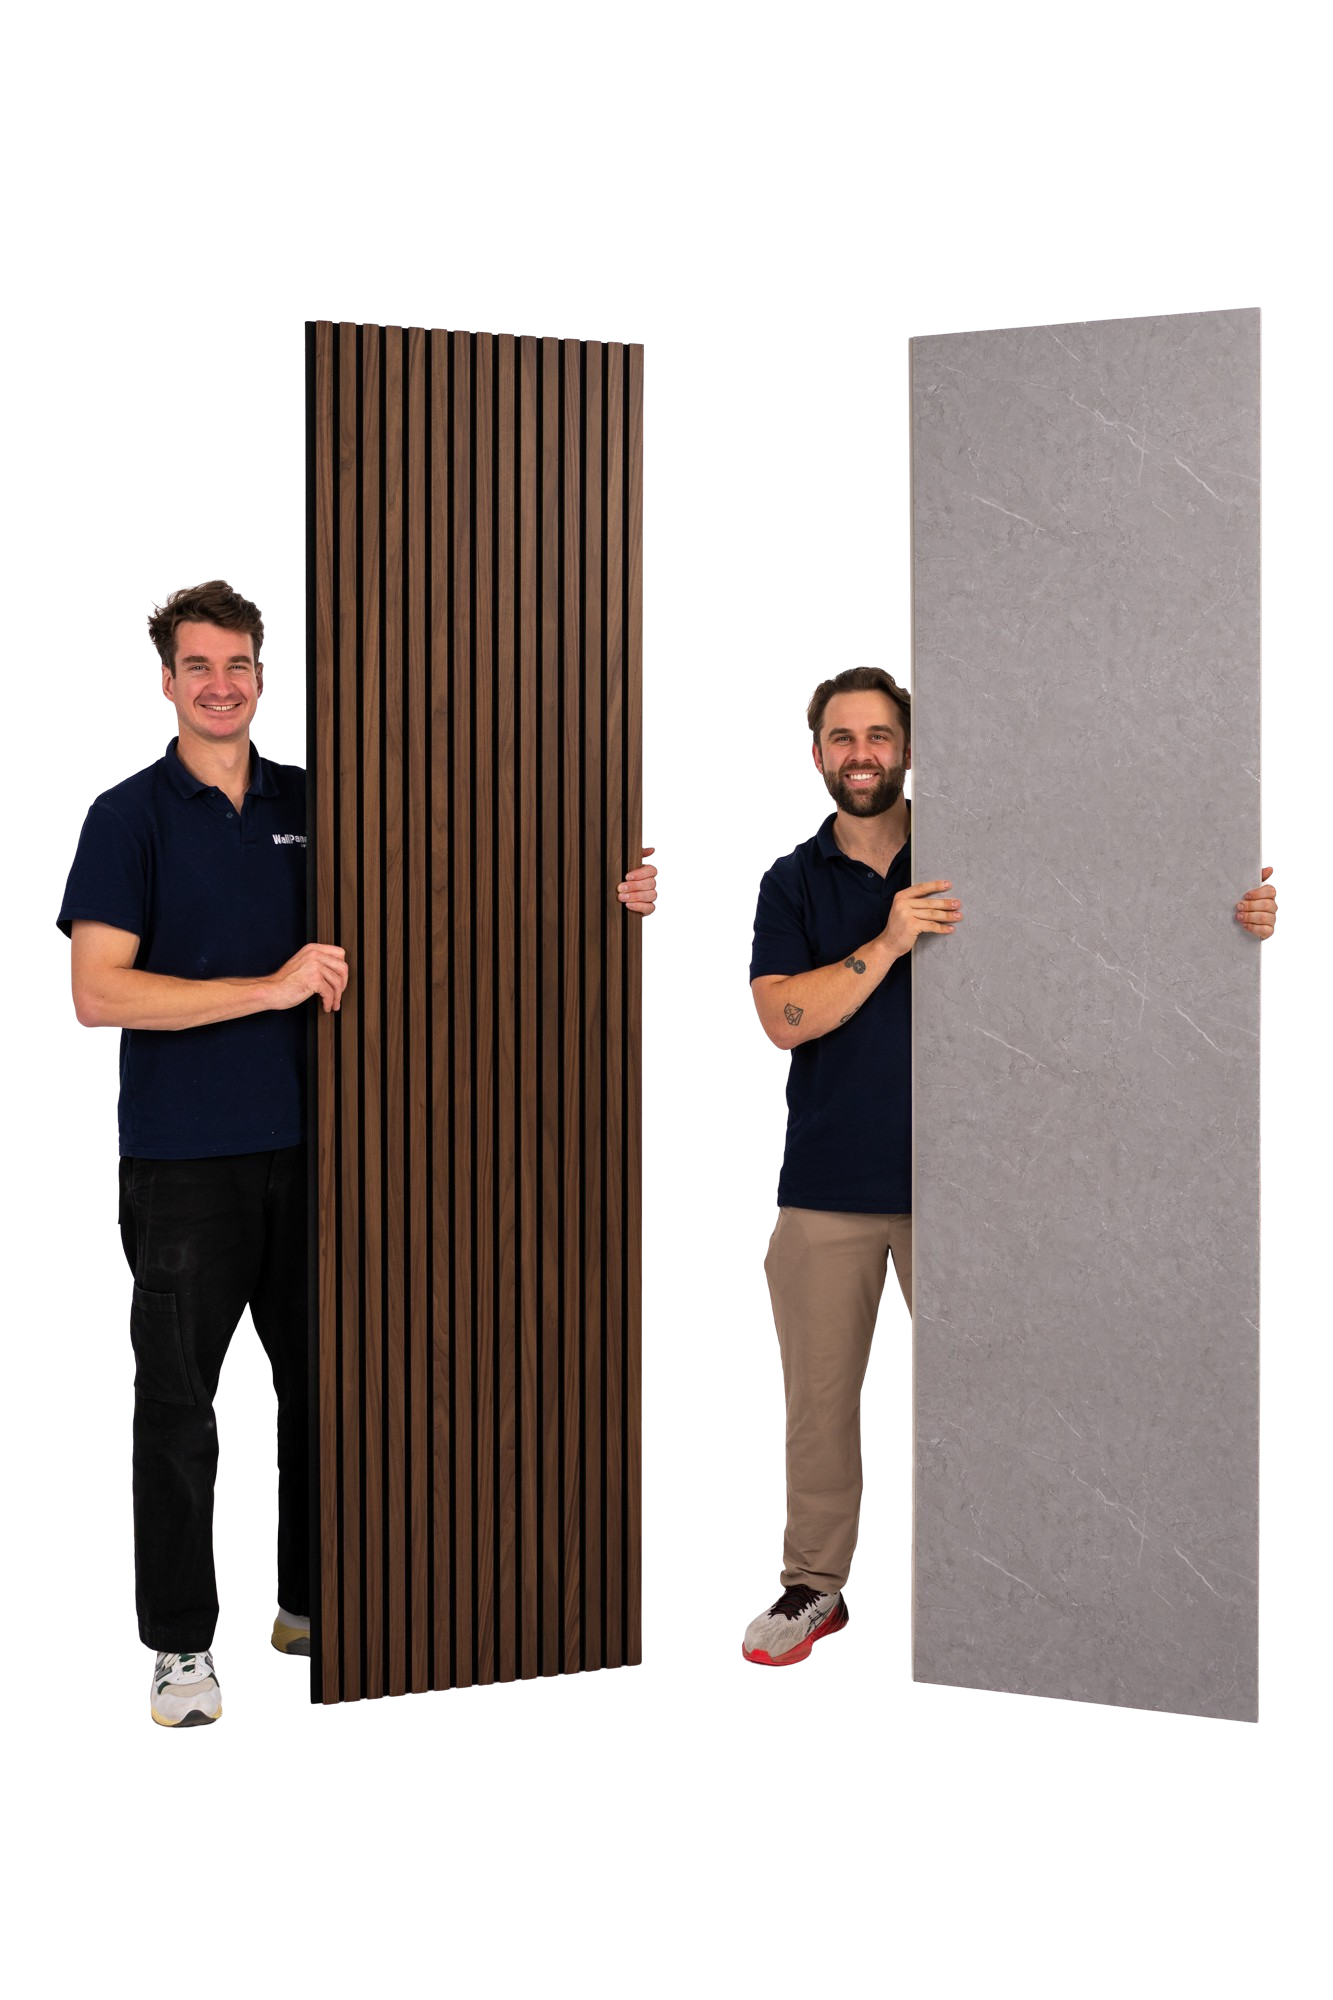
How to Install EasyWall Wall Panel Tiles
Please watch the video above to get the gist of what it takes to install your EasyWall Wall Panel Tiles. If you're looking for instructions on installing our standard PVC panels, or Pro/Scandipanel range you can find those here.
Recommended Tools:
- Silicone gun (for adhesive and sealant)
- Pencil
- Measuring tape
- Spirit level
- Safety glasses and safety gloves
- Cutting tool (you can use a utility knife or any fine-toothed saw. If you're cutting circles for plumbing you will need a hole saw).
Step #1: Prepare The Wall
- Ensure the surface is clean, dry, and smooth.
- Remove any dust, grease, or loose materials.
- In wet areas, install a waterproof backing (cement board or waterproof drywall with a waterproof membrane).
Step #2: Measure and Determine Vertical & Horizontal Alignment
- Measure the height and width of the wall.
- Use a level to draw horizontal and vertical guidelines.
- Decide on tile orientation (vertical, horizontal, uniform or brick style) and begin from a corner.
Step #3: Lay Out and Cut the Tiles
- Plan your layout, including spaces around windows, outlets, or obstacles.
- Start with the tile groove facing down and tongue facing up.
- Cut tiles with a fine-tooth saw, utility knife, or circular saw. Trim the tongue and groove edges off the sides of tiles fitting into corners, the floor and ceiling.
- Dry-fit each tile to ensure proper sizing and alignment before using adhesive.
Note: Remember to Leave Margins
- Leave a 0.5 cm gap around all edges (walls, floor, ceiling).
- This allows for natural expansion from humidity or temperature changes.
Step #4: Glue to the Wall (Groove Down)
- Apply adhesive in a serpentine pattern, avoiding the tile’s edges to the back of the tile.
- Press the tile firmly onto the wall, maintaining light pressure.
- You can glue each row at a time before dry fitting the next row to make this process easier.
Step #5: Apply Silicone
- Apply a bead of silicone along the top of the tile if you're using them in a wet area. This adds an extra layer of waterproof protection.
Step #6: Connect the Tile
- Angle the tongue of the tile into the groove of the previous tile below.
- Slide it into place into the panel or trim alongside as well and press firmly. Making sure to slide it into the panel next to it.
- Continue this process, checking for tight seams and level alignment.
- Rubber gloves or a glass suction grip will make this process easier and more secure.
Step #7: Install the Last Tile in a Row
If using corner - trims, follow these extra steps for the final tile:
- First you need to trim off the tongue and groove edge of the side inserting into the corner.
- To fit the last tile, slot it into the trim above the row you are inserting the tile into.
- Then slide the tile down into the base of the tongue and groove of the tile below and the tile to the side. This may be a tight fit. Use rubber gloves or suction cups to help maneuver it smoothly and firmly so it fits tightly into the panels below and to the side of the tile.
- Make sure the tile is securely in both the trim connection of the tiles and interlocked.
- Press firmly so the panel is plumb to the wall and glued securely.
- When gluing to reduce mess we recommend applying the adhesive to the wall instead of the tile when installing the last tile.
Step #8: Installing the last Top Tile
To install the last tile you will most likely have to cut the tile down to fit the remaining gap. Cut the top edge of the tile that is running along the ceiling. (Remember to cut leaving a 3-5mm gap to allow for expansion. Then install in the same way as when you install the last tile in a row.
Step #9: Fill in Gaps with Sealant
This is a very important step! When you're done installing the panels you need to fill in all of the corner gaps. This means above the panels, below the panels and anywhere you have made cuts.
The tongue and groove panel connections are already watertight so you do not need to worry about sealant for them.
Step #10: Wait 24 Hours to Apply Accessories
You need to wait 24 hours for the panels to cure before applying the fixtures, accessories or drilling holes in the wall panels. It shouldn't take more than an hour or two on a return trip to finish up the panels.
Step #11: Done!
Once the sealant dries and accessories are applied you can now enjoy your wet wall panels.


