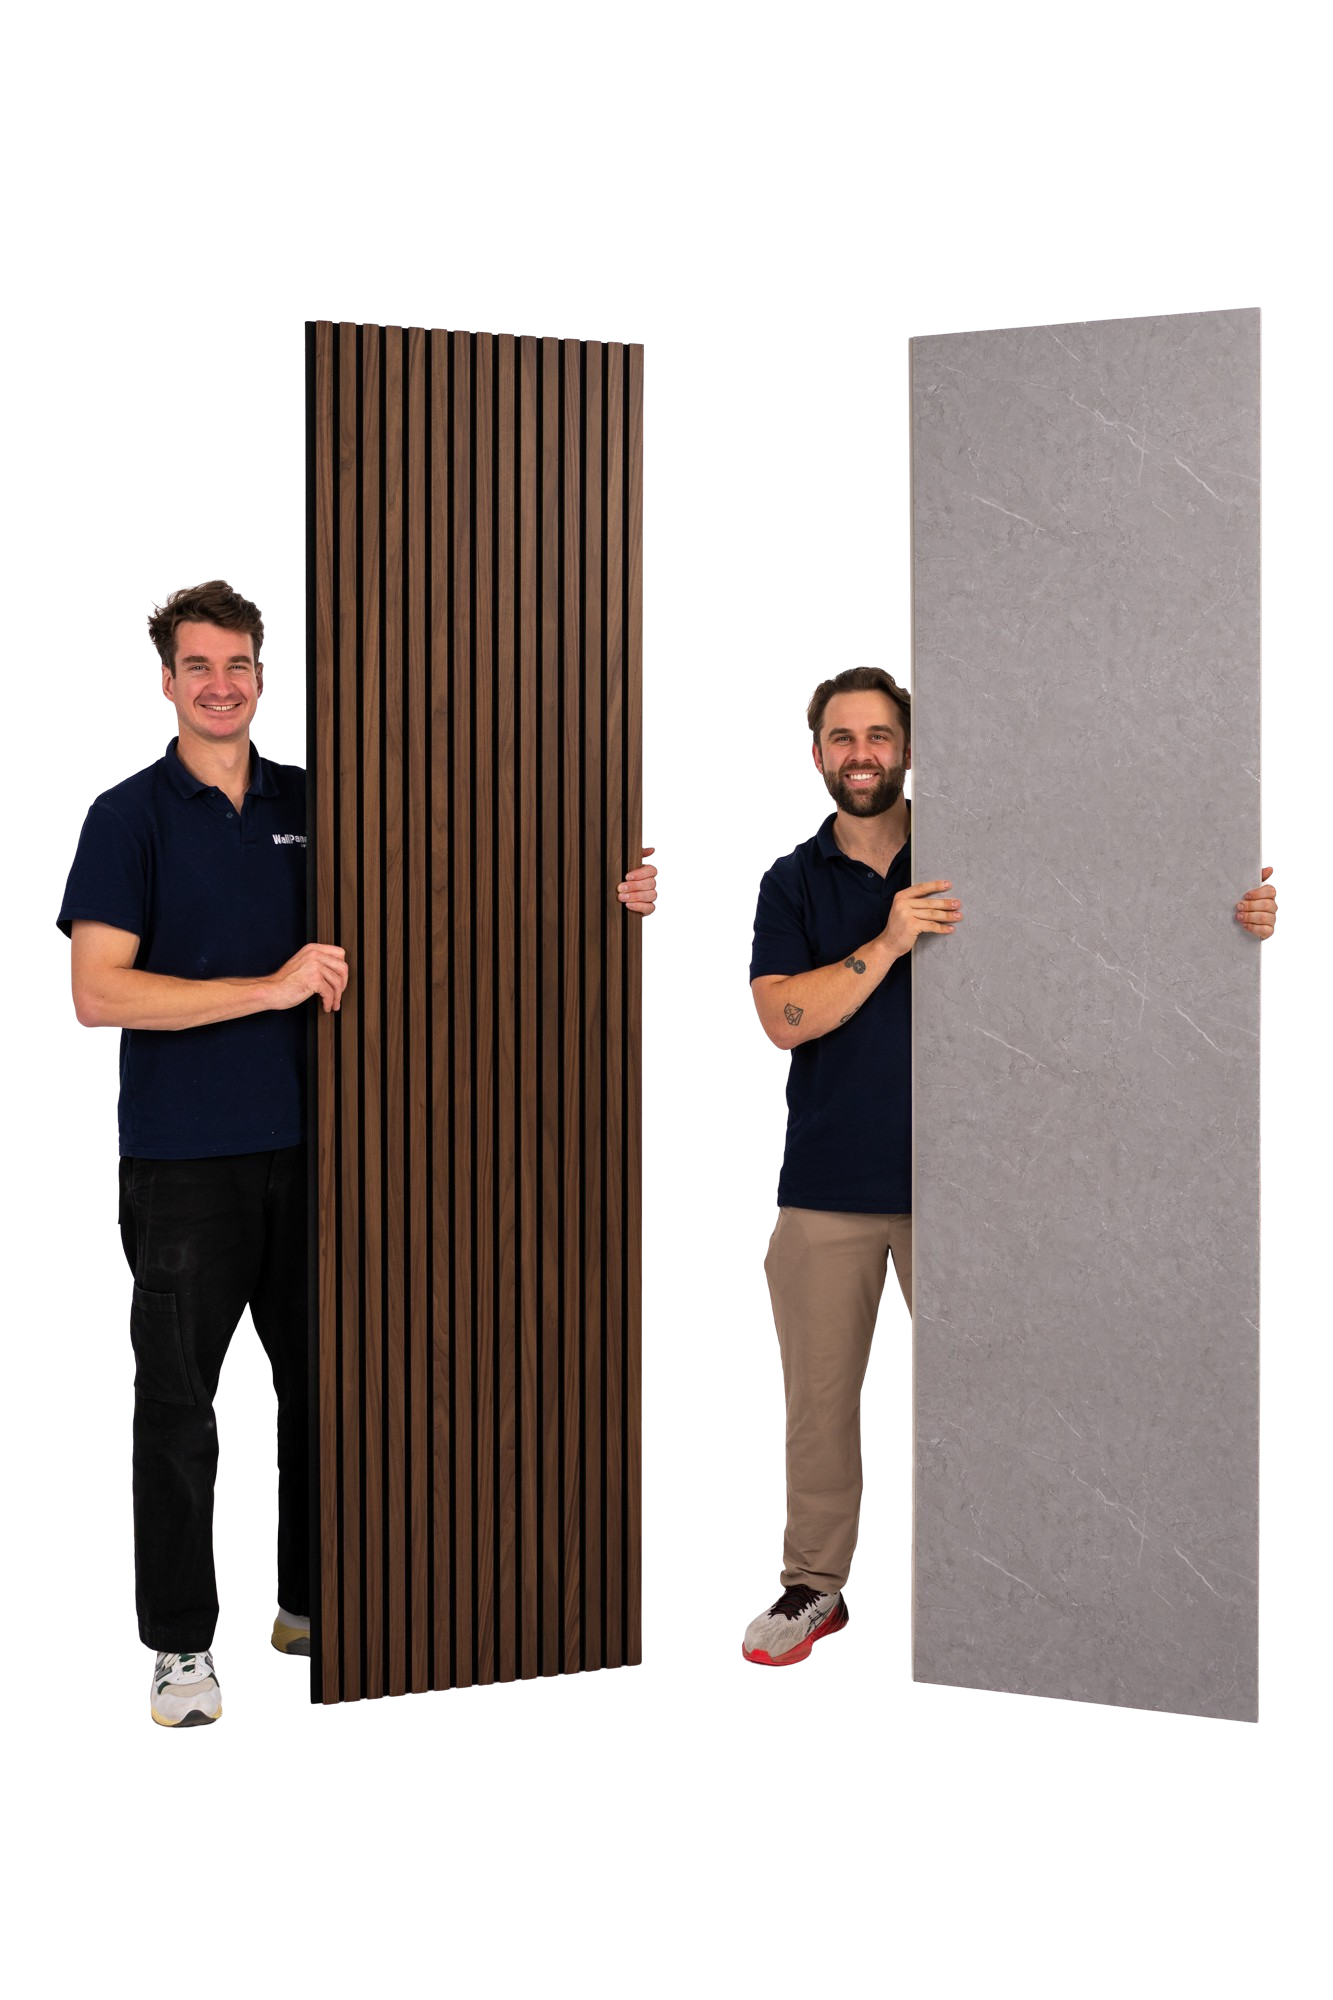
Wood wall panels are an increasingly popular choice for interior design. They add warmth, texture, and a touch of nature to any residential or commercial space. No matter if you want a rustic look, a modern aesthetic, or a classic feel, wood wall panels are a great choice for transforming the ambience of a room.
However, before you dive right into installation, it's important to understand which surfaces you can attach these panels to and how to prepare the walls for a secure and lasting result. If you haven't already, check out our post about where you can use wood wall panels.
Note for this article: we say to add adhesive to the back of the panels, but this isn’t necessary. They just need to be secured to the wall whether that’s with adhesive or screws. You are also welcome to use both if you’d prefer.
Plasterboard/ Drywall
Drywall, often called plasterboard in Australia, is one of the most common surfaces used in building interiors. It provides a smooth and even base, so installation of wood wall panels is relatively straightforward. Before attaching the panels, ensure the plasterboard is clean, free of defects, and properly secured to the wall studs. If the drywall is in good condition, you can attach the panels directly to it using construction adhesive and nails or screws.
Preparing Plasterboard/ Drywall for Wood Wall Panels
Inspect: Examine the plasterboard for any damage, like cracks, dents, or protruding nails. Repair any imperfections before going further.
Clean: Wipe down the plasterboard surface to remove dust, dirt, and grease. A clean surface will create better adhesion between the wall panels and the wall.
Secure: Confirm the plasterboard is securely attached to the wall studs. Reinforce any loose areas by driving screws into the studs.
Stick: Apply a high-quality construction adhesive to the back of the wood panels. Press the panels firmly against the plasterboard, ensuring even coverage.
Fasten: To ensure stability, use finishing nails or screws along the edges and centre of each wood wall panel. Ensure the fasteners penetrate the wall studs for a secure hold.
Timber
While not as common, timber is another surface used in Australian homes and commercial spaces. Timber is suitable for attaching wood wall panels and it provides a stable and sturdy base to support the weight of the panels. When attaching panels to timber, make sure the surface is clean and level. Use construction adhesive and nails or screws to secure the panels to the timber to ensure a strong bond.
Preparing Timber for Wood Wall Panels
Level: Ensure the timber is level and securely attached to the wall studs. Fix any unevenness by shimming or sanding the surface.
Inspect: Check the timber for imperfections like knots or rough spots. Sand any irregularities to create a smooth and even surface. Wash the walls thoroughly and let them dry completely before installing the panels.
Stick: Apply construction adhesive to the back of the wood panels. Press the panels onto the timber, making sure the adhesive spreads evenly.
Fasten: Secure the panels with finishing nails or screws, making sure they penetrate through the panels into the timber surface below.
Brick or Concrete
If you want an industrial or urban look, attaching wood wall panels to brick or concrete walls can be a striking option. To attach panels to these surfaces, you'll need masonry screws or anchors, along with construction adhesive. Drill pilot holes into the brick or concrete, apply adhesive to the back of the panels and secure them using the appropriate hardware.
Clean: Thoroughly clean the brick or concrete surface to remove dust, dirt, and loose particles. A wire brush or vacuum cleaner can be useful for this.
Drill: Use a masonry drill bit to create pilot holes in the brick or concrete. Ensure the holes are deep enough to fit the screws or anchors.
Stick: Apply construction adhesive that’s suitable for masonry brick or concrete surfaces to the back of the panels.
Fasten: Secure the wood wall panels using masonry screws or anchors. Tighten them securely to ensure a snug fit against the wall
MDF (Medium Density Fibreboard)
Although not common in Australian homes, some commercial spaces sometimes use MDF for construction. When considering MDF as a surface for wood wall panels, make sure it’s securely attached to the wall studs. After cleaning the MDF wall surface, apply construction adhesive to the back of the panels and use nails or screws to fix them to the MDF.
Plaster
Older homes may have plaster walls, which may be a suitable surface for wood wall panels. Ensure the plaster is in good condition and repair any damaged areas, then clean the entire wall surface to remove dust and debris. Use construction adhesive and appropriate fasteners to attach the panels, taking care not to damage the plaster during installation.
Metal studs
Some modern buildings use metal studs instead of traditional wood framing. If your walls have metal studs, you can still attach wood wall panels effectively. Use self-tapping screws or construction adhesive that’s designed for metal surfaces to secure the panels to the studs.
We can help with wood wall panels
Wood wall panels are a versatile and good-looking option for enhancing interior spaces. They’re affordable, durable, and easy to install for anyone with some DIY experience.
Before attaching them to any surface, it's important to prepare the substrate properly. Whether you're working with plasterboard, timber, brick, concrete, MDF, plaster, or metal studs, each surface needs a specific approach to ensure your wood wall panels are secure and durable.
If you have any questions about installing wood wall panels, don’t hesitate to get in touch.
Leave a comment
All comments are moderated before being published.
This site is protected by hCaptcha and the hCaptcha Privacy Policy and Terms of Service apply.